Do you immediately call out the gas man when your central heating stops working or phone the plumber when your toilet is blocked or your cistern overflows? You might be surprised at how many jobs you can fix yourself – if you know how.
Do you immediately call out the gas man when your central heating stops working or phone the plumber when your toilet is blocked or your cistern overflows? You’re not the only one, but you might be surprised at just how many jobs you can fix yourself – and save money too.
Whether it’s a dripping tap, a door with loose hinges or your washing machine door won’t open, it’s easy to pay someone to come out and fix it. Sometimes, you will have to call out the professionals and we’re not saying you should fix everything on your own by any means. But before you make that call, read on to find out what you might want to try out on your own and save money while you’re doing it.
How to unblock a toilet
Nothing worse than a blocked toilet but it can be easy to fix. If it’s a small blockage, the easiest way is to quickly pour a bucket of water into the toilet bowl which should dislodge the blockage. You can also use a standard rubber plunger to do this. Remember, if the water doesn’t shift the blockage, you’ll have a toilet bowl full of water so be prepared with plenty of towels to hand.
If you know what the blockage is e.g. a sanitary item or nappy, put on a pair of (preferably long) rubber gloves and pull it out. However, if the blockage is of a more ‘natural’ substance and not something you can pick up, use a short piece of garden hose (about a metre long) and push it into the toilet and around the U-bend – this should shift the item along. It’s not nice, but this can save money on a call-out.
It’s worth reminding the family to only put toilet paper into the toilet – nappies, tampons, sanitary towels, condoms etc should all be wrapped up and binned.
How to fix a dripping tap

Admittedly, this is one of those jobs that you may not want to fix yourself, but if the problem is just replacing the washer, it’s relatively straightforward and will save you a call-out fee. Just take your time and follow these steps.
First, find out which type of valve you need, so you can buy the correct replacement. Most taps have one of three. The most traditional is a rubber washer on the end of a compression valve inside the tap. A more modern type is a ceramic disc washer that’s part of the valve inside the tap. The third type is actually a ceramic cartridge, used in monobloc’ taps where one handle controls both water flow and temperature. To work out which one you have, turn on the tap. A tap which rotates through one or more turns probably has a rubber washer. If it only does a quarter of a turn, it’s a ceramic disc.
You’ll need two screwdrivers (slothead and Philips/crosshead), adjustable pliers, an adjustable spanner, a cloth and a new washer. Make sure the tap is off by turning off the isolation value, usually on the supply pipe below the sink. Use a slothead screwdriver to do it this – you’ll know the valve is off because the slot on the screw won’t be aligned with the pipe – the line will run across it instead.
If you don’t have isolation valves, there may be a handle to turn. If there isn’t, and there are no other stop valves on the pipe, you may have to call a plumber as you can’t do this unless you’ve turned off the water
Next, turn the tap on to flush out water that’s left in the pipe. The next step is removing the tap handle. You may be able to unscrew it by hand, with the spanner, there might be a screw inside the handle or you can use a slothead screwdriver to remove the tap lid. If there’s a shroud/cover around the tap, you need to unscrew it or use slip-joint pliers to loosen it.
Once the valve is visible, use the spanner to grip the base of the valve (where it connects with the main tap) then, using pliers and a cloth to keep the tap in position, use a spanner to undo the valve itself.
You’re almost there. Loosen then unscrew the valve and either replace the ceramic disc valve with a new one or remove the old rubber washer using the end of a screwdriver and fit the new one. You then need to reassemble the tap (easier since you’ve just disassembled it). Finally, turn on the water and the tap should be drip-free. If not, you may need a plumber but if all it needed was a new washer, you’ve done it.
How to unblock a sink or plughole

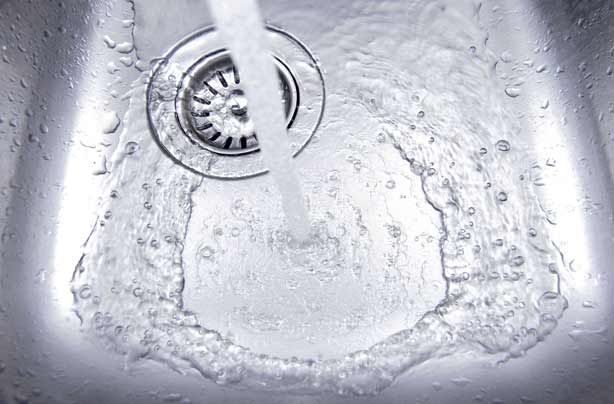
One of the cheapest ways to unblock pipes is pour a mixture of bicarbonate of soda and vinegar down the drain. Just sprinkle 2-3 tablespoons of bicarbonate of soda into the plughole then slowly pour vinegar (a cheap one will do) until it fizzes up. Leave it overnight. Repeat this each evening until the water flows better. Avoid using caustic or highly chemical drain unblockers as they can damage the pipes.
You can also use use a plunger. Remember to block the overflow holes at the top of the sink/bath (use a damp kitchen towel or an old rag) as this means the pressure of the water as you plunge will go through through the system and not back out of the overflow. Place the plunger over the plughole and fill the sink/bath with just enough water that it covers the rubber part of the plunger. Move the plunger up and down quickly until the the water flows quickly.
To maintain a clean, fast-flowing drain, use a plunger regularly. Also, buy plughole strainers (available from the pound shop and supermarkets) which collect hairs etc instead of them clogging up the pipes.
How to bleed a radiator

If radiators aren’t heating up properly, there’s probably excess air inside them and they need ‘bleeding’. You just need a bleeding key (available at DIY stores) which fits the valves. Before you start, make sure all the radiators valves are on, then turn the central heating on for about 10 minutes before turning it off.
Put the bleeding key into the valve (top corner) and turn it slowly anti-clockwise. If there?s any air trapped, you’ll hear a hissing sound as the air escapes. As soon as any water escapes, close the valve – use an old towel to soak up any excess water. That’s it!
Some radiators might have their own air release valve in which case, you don’t need a bleeding key. It’s usually a small red valve which you turn in the same way as above. Repeat the process for other radiators then turn the heating on to check they’re working. If any water is dripping, you just need to tighten the valve.
Note: if the radiators are cool in just one part of the house, it could be they’re not balanced properly – the radiators closest to the boiler might be taking more hot water than they need. To rectify this, you will need to call out a heating engineer. Similarly, if the radiators remain cold at the bottom even after bleeding, it could a build-up of rust or sludge and you would need a heating engineer to flush out the system.
How to fix low boiler pressure

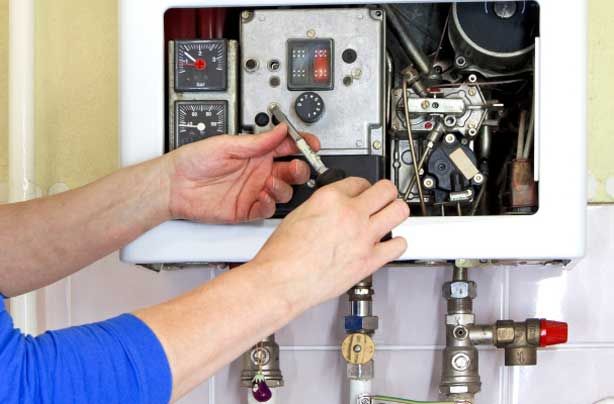
Often, if the central heating stops working, it could be simply that the boiler’s water pressure has dropped. If this is the reason, it’s surprisingly simple to fix yourself. Most boilers have a water pressure indicator on the front, either a digital one or a dial, and it should show between one and two bars of atmospheric pressure. If it’s less than one, your boiler pressure is too low.
You need to find the cold water feed to your boiler, typically a plastic tube under your boiler or next to it. There may be a panel below your boiler which you need to remove. There will be a small tap on this plastic tube – turn slowly until you see the pressure indicator hit somewhere between one and two, at which point turn off the tap. Turn the boiler on to check it’s working. Of course, if you’re in any doubt then you should contact an engineer straight away.
How to hang a picture frame

It’s not that hard to hang up a frame – take your time and it’s easy to do. An extra person is useful, if not essential, to make sure it’s straight though. For smaller paintings and unframed ones, you just need a picture hook and a small nail (around 3cm). With a pencil, mark the spot where you want to hang the hook – ask someone to hold the painting so you can stand back and check its position. Before you hammer it into the wall, angle the nail upwards just slightly then knock it into the wall until about 1cm is still sticking out. Make sure you’re not hammering into the wall near light switches or electrical points.
If you want to hang a larger picture, especially if framed with glass, then a simple picture hook may not be enough. If the painting has a string along the back, you can use two picture hooks, as above, and hang it up in the same way, using a spirit level to make sure it’s straight.
Remember, if the wall is a plasterboard stud wall, you will need something called a toggle bolt which is designed for thin/hollow walls. A stud detector is also useful – it helps to detect wood studs so you can secure the hooks to something stable, otherwise the painting could fall down.
How to fix cracks in a wall

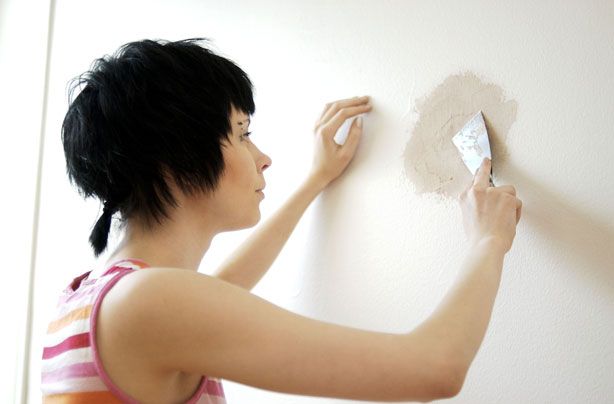
Cracks in the wall often look worse than they are. They don’t necessarily signify structural problems but obviously if they get bigger, you may have to call out a builder. However, small cracks are easy to fix. The main thing you need is an all-purpose filler (either powder which you mix with water or a ready-mixed paste) that’s suitable for walls.
It’s tempting to just fill over the crack but do clean it first. Use an old paint brush to do this then use a filling knife to apply the filler. Press it in firmly and scrape off any excess. Always allow plenty of time for the filler to dry out before you start sanding it. If the crack is quite deep, you may need to do a second application. You can then repaint. Simple!
How to fix a loose door

If a door is proving hard to close, you may have a loose hinge. There are several ways you can fix this. Firstly, try tightening the screws on the hinge. In some cases, that will be all you need to do but if it doesn’t work, you can try replacing the screws with longer ones.
Make sure you buy the right replacements too – just work out how many screws you need, then remove one to take with you to the DIY store and buy that type but 1cm longer. Remember to buy slotted head screws (with just one line across them) as crosshead screws are harder, if not impossible, to remove if you paint over them. Replace them one at a time so that your door doesn’t fall off the frame!
Some people also buy wooden dowels and tap them them into the holes before rescrewing as this makes the screws sit tighter and makes the hinge sturdier. If you find that the door is still loose or not closing properly, you could sand the area which is getting stuck.
How to fix a washing machine

Washing machine problems can be a nightmare as it’s an appliance you can’t do without. Before you call the plumber, you might be able to troubleshoot yourself. Some of these initial solutions might sound obvious, but always good to eliminate them. Make sure other items are working as it could be a power cut. Also check it’s plugged in and that the door is securely closed. If you’ve had any plumbing work done recently, check the water inlet isolation taps (usually under the sink) are open and that there are no kinks in any hoses. You should also keep your manual to hand as many common problems and solutions are highlighted in there.
If the washing machine is filled with water, you can drain the water, but be prepared for a little mess. Turn the washing machine off and find the outlet pipe – this is the one which usually links up with the sink’s waste water system. Pull the drain hose out and put it into a bowl so the water can come out. If the bowl is filling up, hold up the hose above the washing machine’s water level so you have time to empty the bowl. Remember though, if you’ve taken out the drain hose from a connection under the sink, don’t pour the excess water back into the sink as you will flood your floor! Put it into another bowl and get someone to empty that in the bathroom and bring it back empty.
Another problem is the door not opening. It could be the load hasn’t completely finished – time-delay systems vary but make sure you’ve waited or heard the click. Some doors won’t open if there is any water left inside in which case you will need to do the process above – this can happen before or after you’ve put a load in. Check the programme selection knob is in a stop position too as it may not open if it think it’s mid-programme. If it still won’t open, you may need to call out a plumber.
If you’ve opened the washing machine door and it’s flooded your kitchen, the first thing you need to do is turn it off completely. If that doesn’t stop the water flow, turn off the inlet taps or isolation valves – these vary in terms of where they are so check your manual. Don’t use the ‘drain’ programme setting if the machine is leaking or flooding though. You may need to call a plumber to find out why it flooded and have it fixed.
Tip: familiarising yourself with your washing machine is one way to avoid potential problems. Also, keep your filter clean. The outlet filter is usually at the front of the machine behind a removable panel. You can empty it when the machine is off and clean it out to prevent blockages.
If your washing machine smells of damp, run a short wash cycle on your washing machine on a hot water setting and add 2 small cups white vinegar into the powder drawer – it has a deodorising and disinfecting properties. Always wipe the seal around the washing machine door after each wash to avoid damp building up inside the drum.
How to fix an overflowing cistern

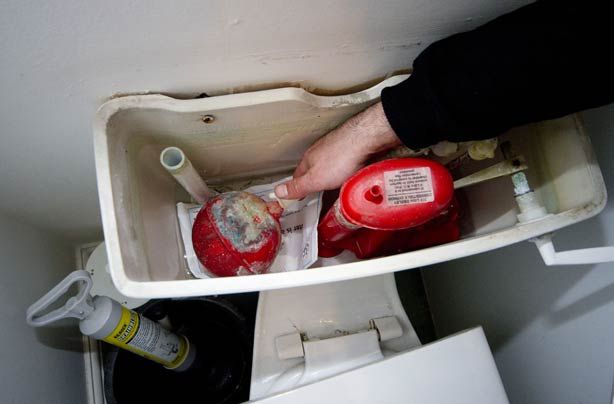
If your cistern is overflowing, it’s usually because the inlet valve inside the cistern isn’t in the right place – it’s either letting in either too much or too little water. As long as your cistern is easy to access and not hidden, you should be able to fix it – all you need is a screwdriver.
There are three ways of changing the water level, depending on what controls the water level in your particular cistern. When you open the cistern cover, it should make sense which valve you have from the descriptions below.
If you have a torbeck valve – a valve with a little float dangling – it’s very easy. To raise the water level, slightly turn the float clockwise. To lower the water level, turn the float anti-clockwise. If your cistern has a modern plastic float arm, the water level is controlled by the plastic screw and nut – you can see it next to the inlet valve on the float arm. Here, you do the opposite – turn it anti-clockwise to raise the water level and clockwise to lower it. The third type is a traditional metal float arm where there is a metal or plastic ball on the end of a metal arm. Bend the arm up to increase the water level and down to lower it.
Where to next?
Back to the start
Things you can make at home instead of buying
Spruce up your kitchen on a budget


